Skala’s canvas handles
It may or may not be obvious, but a lot of the research for the design articles I write directly relates to Skala features. The canvas handles article was no exception.
We’re getting closer to Skala’s release, so I can share some details on where we landed with canvas handles and other canvas interface elements. They’re quite a bit different to other tools.
But first, here are the criteria.
Larger handles #
Larger handles are more comfortable, and faster to target. Fitts’ law describes why. While recording icon speedruns, I initially set Illustrator’s handles to a larger size, because it made the videos easier to follow. I eventually realised larger handles were quicker to use and less accident-prone, so I switched to the second-largest setting full-time. Bigger is better.
No weirdly shaped hit zones #
The hit zones for canvas handles should be predictable and uniform. They shouldn’t be L-shaped or C-shaped. Rectangles and squares are preferable. Circular hit zones and radius tests work well for Bézier anchor points and handles.
No hidden targets #
Interaction hit zones should have some visual indication they exist, especially for the main transformation handles, including rotation and shearing. The mouse cursor changing on hover isn’t good enough.
Don’t cover the layer #
To edit a layer’s fill, stroke, and other styling, you need to select it, which means there’ll be some visual indication that it’s selected. This can make editing details near the edges difficult, because the handles often cover what you’re editing.
Small shapes #
Shapes can be small, or you can be zoomed out far enough that they appear small. Some shapes may even have zero height or width. The handles still need to work in those situations.
Maintain contrast #
Ideally, the handles should always be visible, no matter what colour the underlying content is.
Mouse offset within handles #
When dragging larger handles, it’s important to account for the cursor’s initial offset within the handle, so the object doesn’t jump to a new position when the drag starts.

With those goals in mind, here’s where we landed with Skala’s canvas handles.
Skala’s handles #
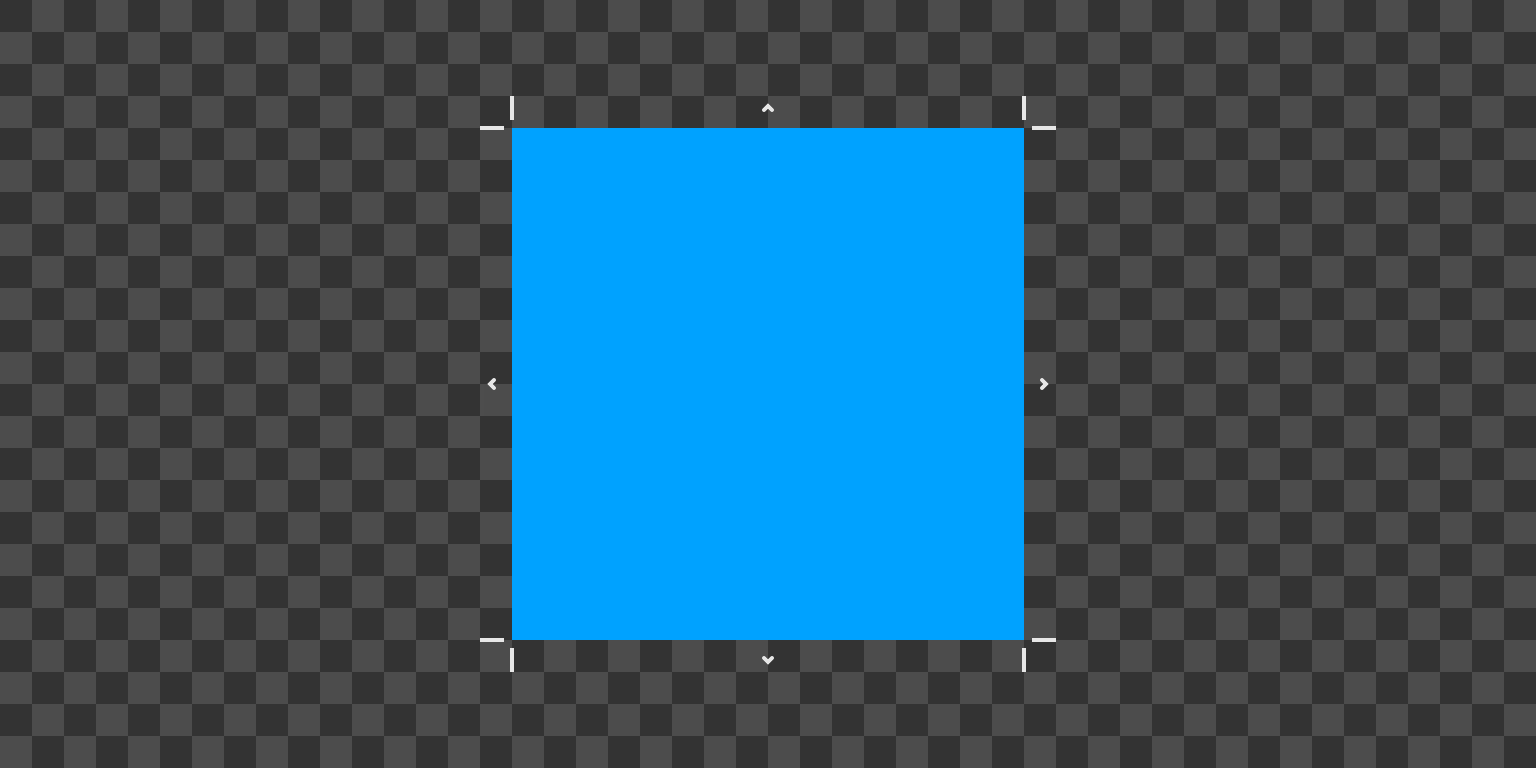
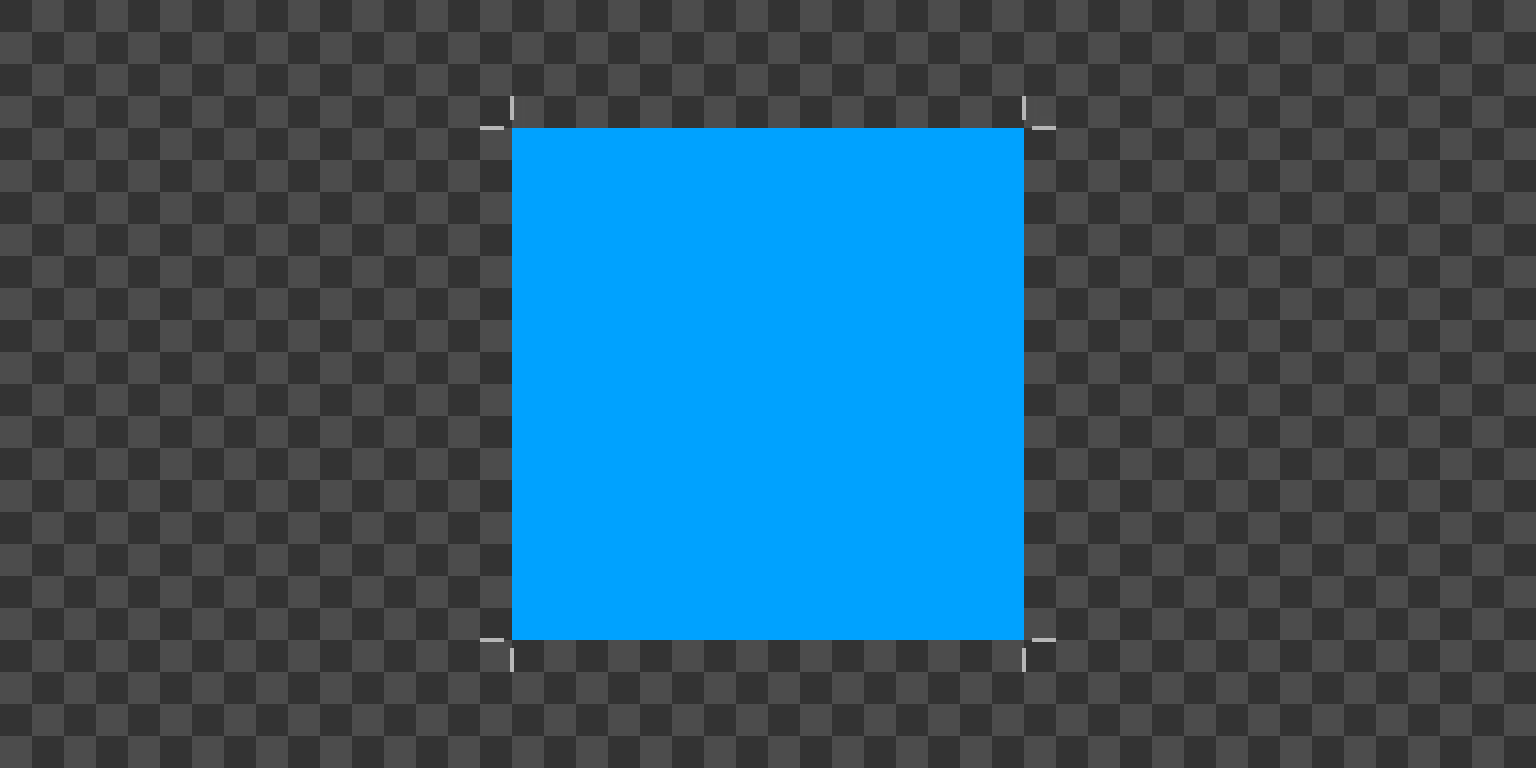
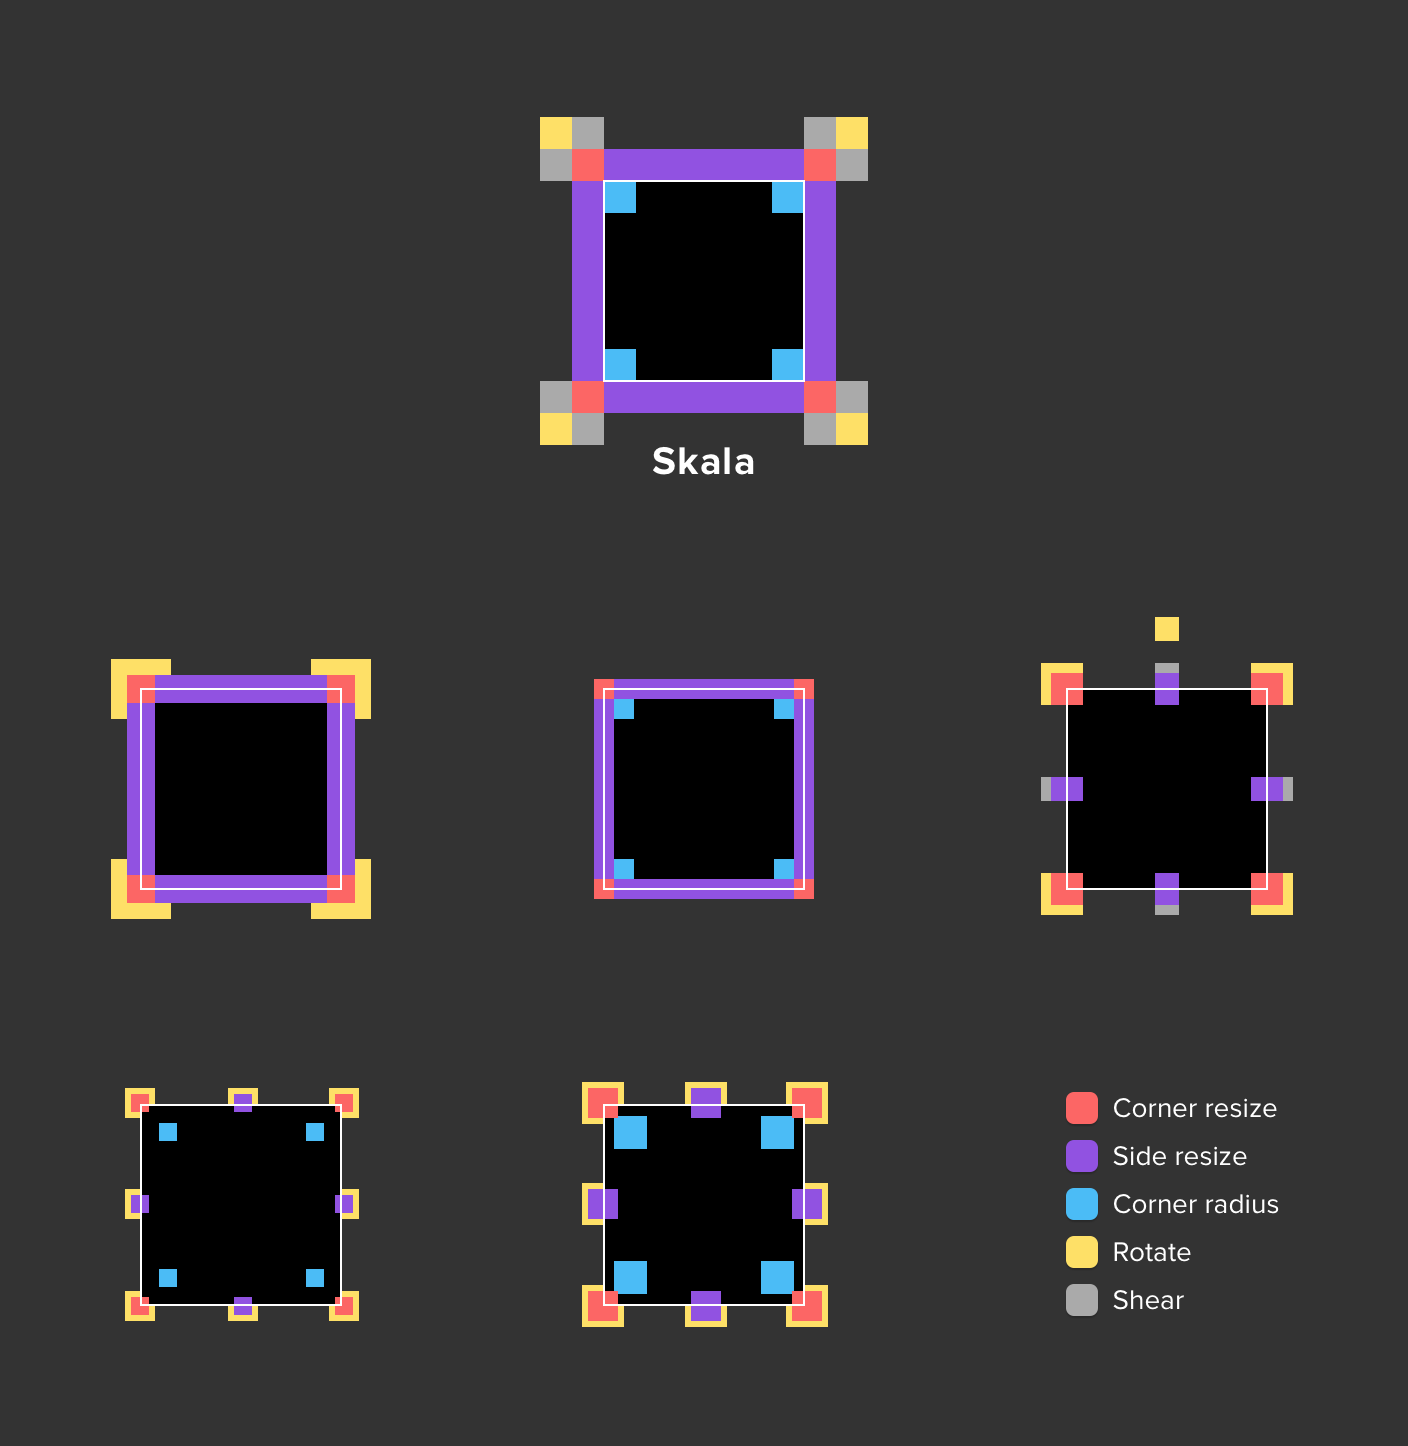
Skala’s resize handles are reminiscent of printing crop and registration marks. They indicate the edges without touching the artwork, leaving a decent amount of space around it. That doesn’t mean they’ll never hit the artwork if there’s a large stroke or shadow, but they’re further from the artwork than standard handles used in design tools.
The rotation and shearing handles appear at any corner as the mouse cursor approaches. You do not need to be precisely on them to see them.
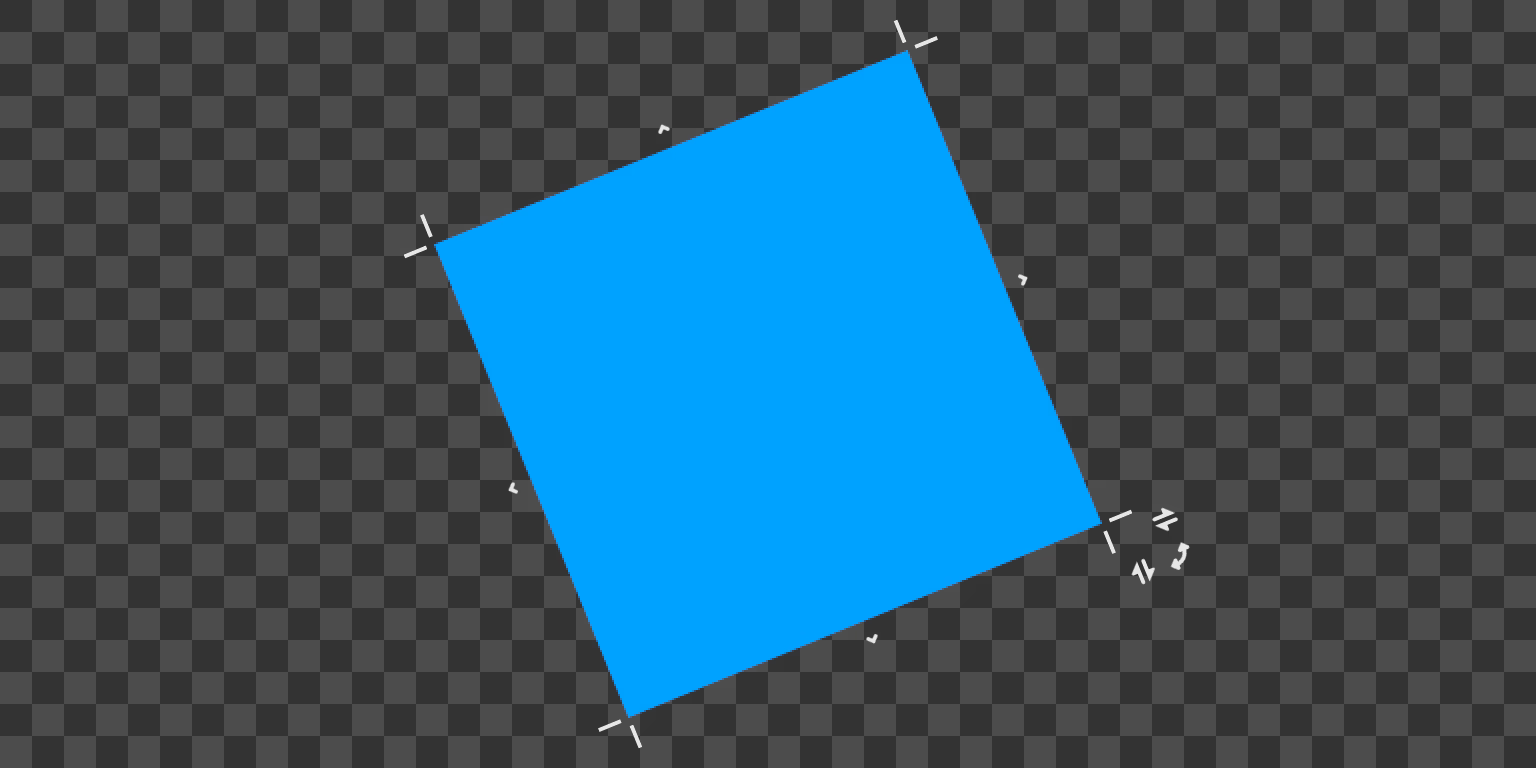
All the handles switch between dark and light rendering on a per-pixel basis, depending on the contrast with the underlying canvas content.
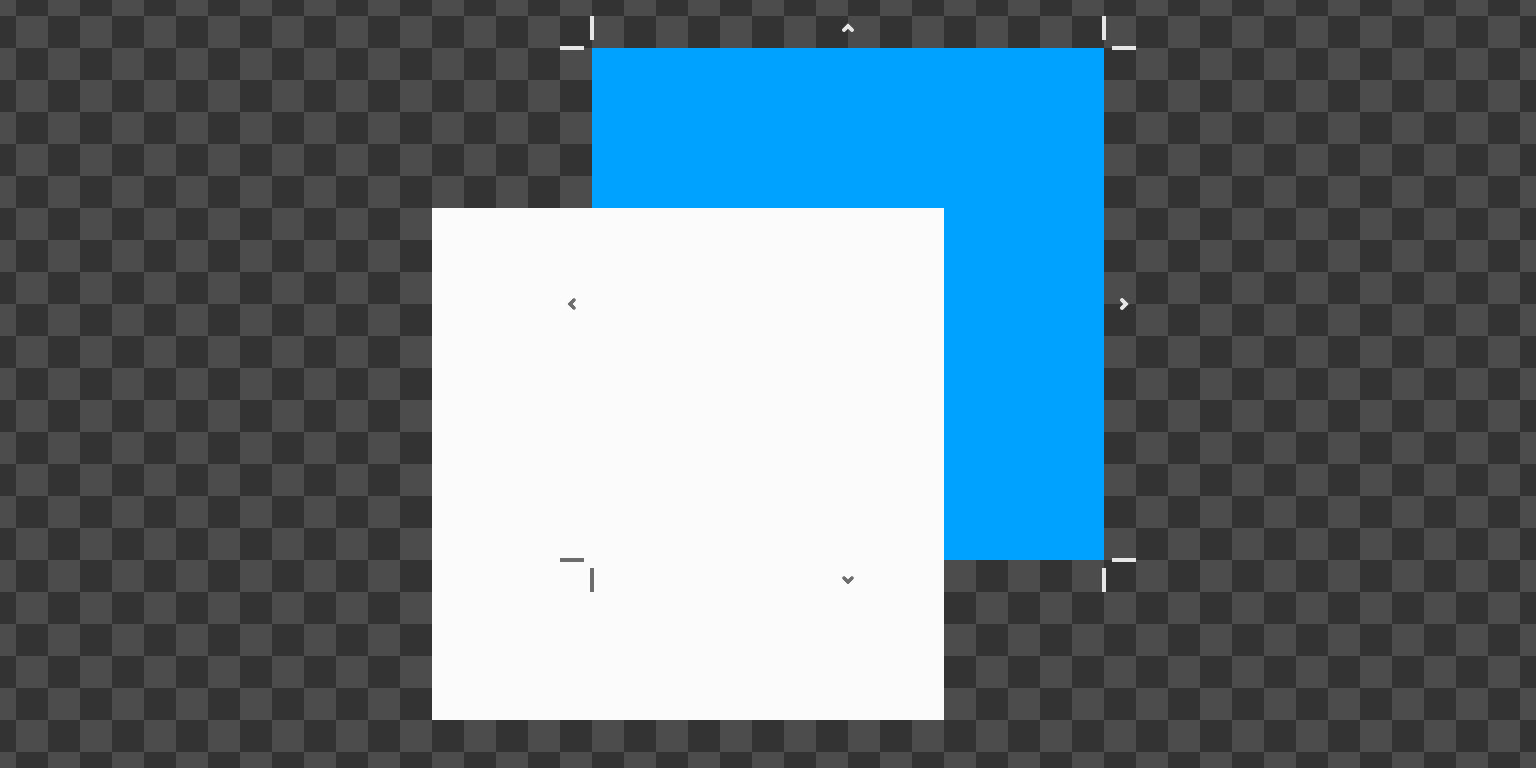
Even when the selected object has zero height, zero width, or both, it’s still possible to resize it.
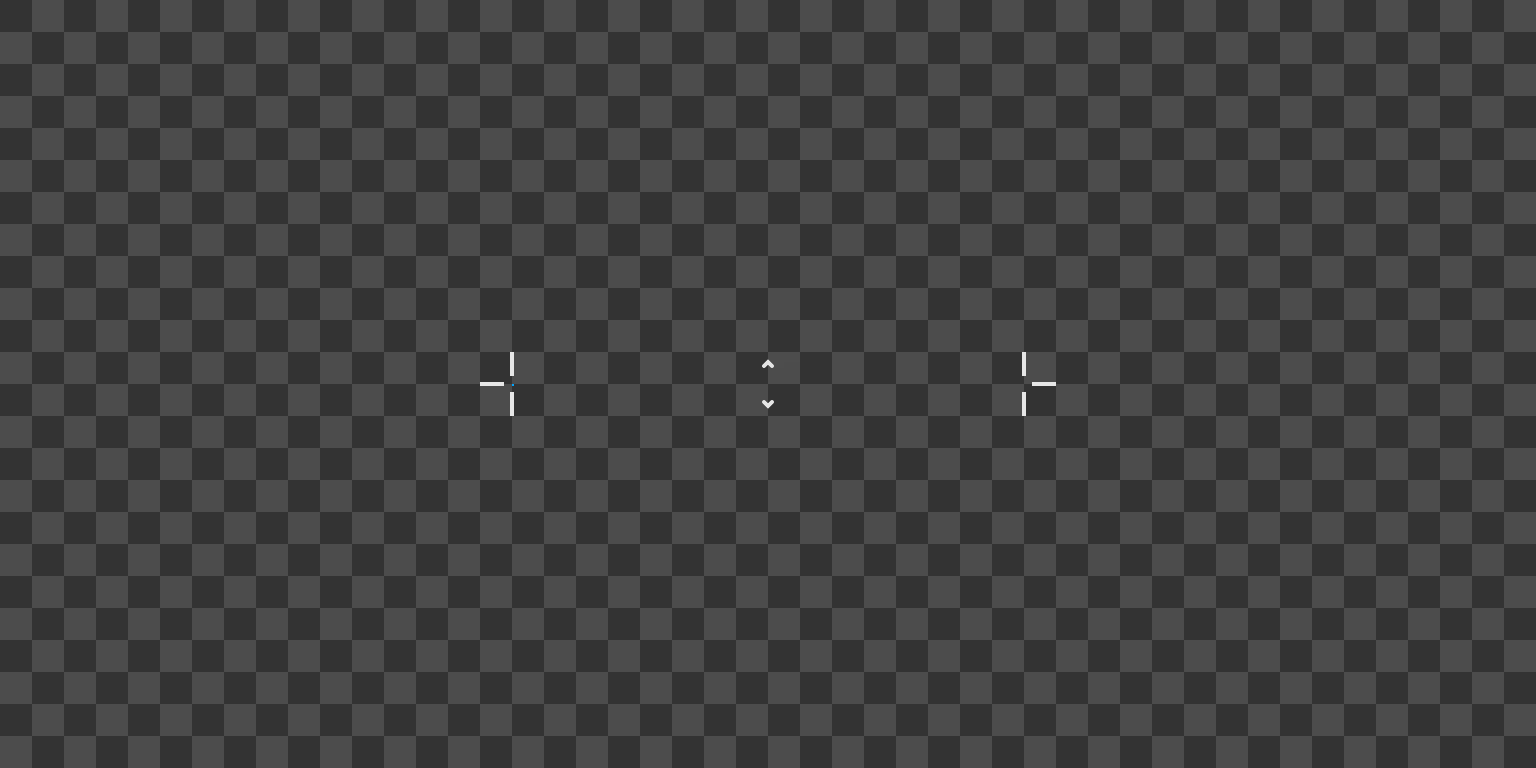
When the handles aren’t interactive, but we still want to indicate the selection, only the corners are shown, at a lower opacity. This happens when you’re using a creation tool, where clicking or dragging on the canvas creates a shape.
Comparison #
Here’s a comparison with other tools. I hope everyone finds Skala’s canvas handles predictable, comfortable and fast to work with.
Snapping #
It was also important to us that snapping wouldn’t just tell you where something was being snapped, but also why. What is it snapping to? This can help a lot when there’s more than one potential snapping destination nearby. Skala includes indicators that show the matching points.
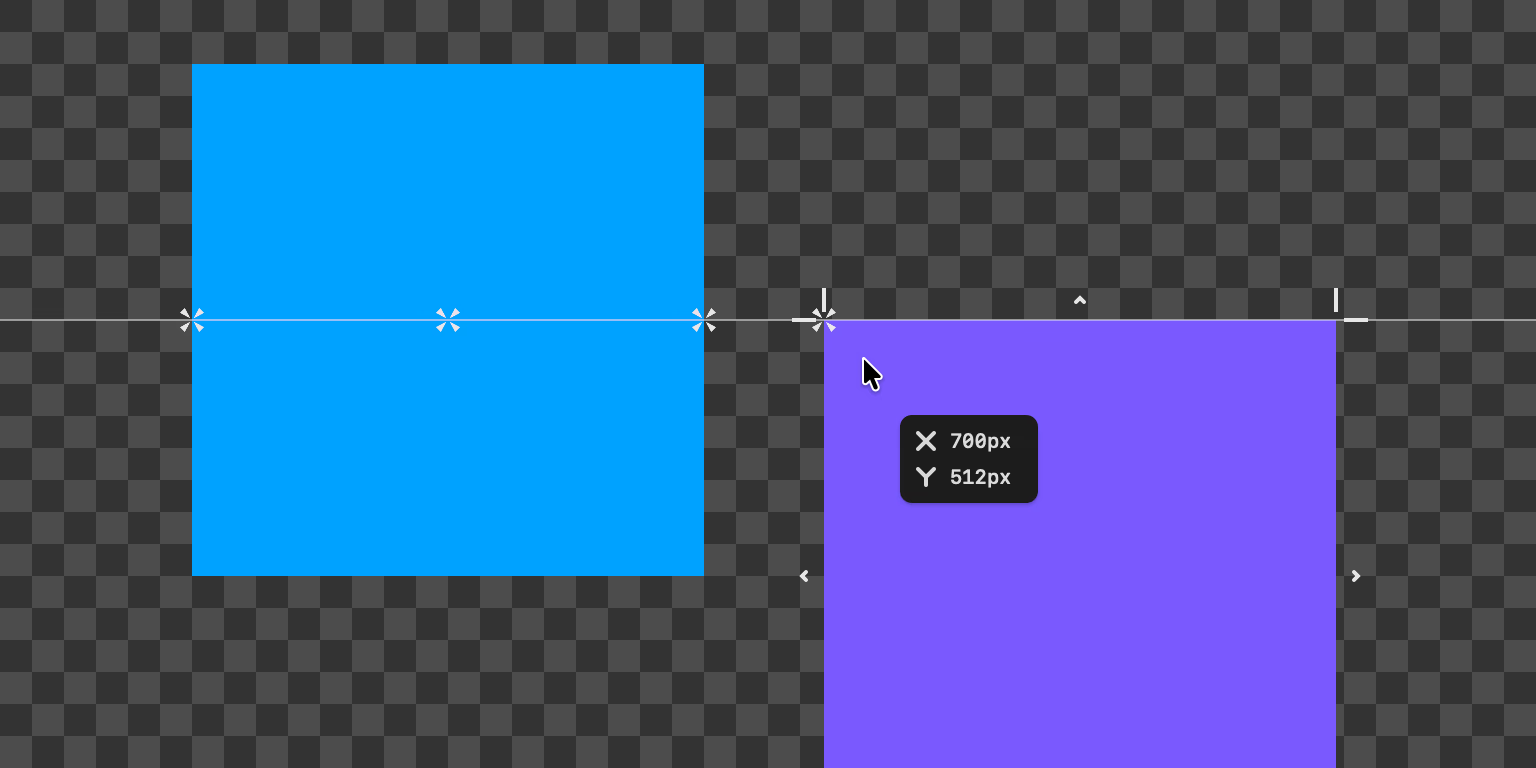
You may also notice that Skala only shows one snapping source. In the image above, it’s the top-left corner of the object being dragged. When you drag something in Skala, where you start dragging determines the snapping source. This reduces the number of possible snapping matches, making it more likely that the object snaps where you intended.
It feels good, but it does mean you need to be more cautious about where you drag from. It’s possible that’s the wrong behaviour. We’ve intentionally tried to push the boundaries of how design tools should work, and we’re willing to keep fine-tuning Skala until it’s really enjoyable to use.
If you’d like to help test, please sign up for the beta.
Published 5 November 2026.